Photoshop is a powerful raster editing software that has endless capabilities. I recently just discovered that you are also able to edit videos and create animated GIFs in Photoshop as well. Why would ask you not use Adobe apps such as Premiere for video editing or Animate for animation? You are just more comfortable with Photoshop than these other programs. I created the above GIF I call Dancing circles in this program. In this post, I will go over how I created this animation in Adobe Photoshop.
Setting up your workspace
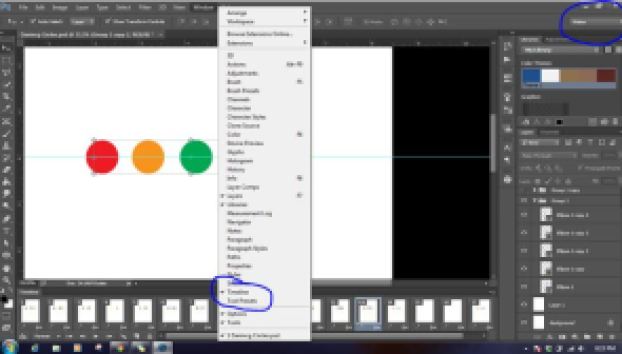
Animated GIFs simply are a combination of stills. Photoshop has a preset workspace that will present you with the typical options you would want when creating animations. To view these options in Photoshop you can simply change your workspace to Motions. You can also go to Window > Timeline to bring up the timeline tab.
Creating your animation
From here you can start creating your frame animation. Follow these steps to create your animation.
Create Frame Animation
In the Timeline window, click Create Frame Animation and this will open up your timeline.
Create a New Layer for Each frame
Here you will be creating your animation from scratch create a new layer for each frame you will be needing. So if you plan to have 12 frames you will need to create 12 layers.
Create your design
Now it is time for your creativity to flow. Create your design in each layer in the order of how your animation to flow.
Select the length for each frame
Under each frame, select how long it should appear for before switching to the next frame. To do this, click the time below each frame and choose how long you’d like it to appear.
Select loop count
At the bottom of the toolbar, select how many times you’d like it to loop. The default will say Once, but you can loop it as many times as you want, including Forever. Click Other if you’d like to specify a custom number of repetitions.
Preview your animation
Preview your GIF by pressing the play icon.
Note: Remember you want to treat your animation like multiple stills. This will help you visualize your goal and since you are working in Photoshop you can use the same effects you would in your other projects.
Exporting your animated GIF
After finalizing, go to File > Save for Web (Legacy). Export your animation as a GIF in the type drop-down menu. You are all set!
I will create a video on how to create an animated GIF coming soon! In the meantime check out this detailed YouTube tutorial on Animated GIFs –
How to Create an Animated GIF from a Video in Photoshop CC
Enjoy.


